Key takeaways
- Clean air ducts improve indoor air quality and energy efficiency. Regular maintenance can reduce dust, allergens, and strain on your HVAC system.
- DIY air duct cleaning is feasible for basic tasks. However, severe issues like mold or pests require professional intervention to ensure safe and thorough cleaning.
- Knowing the best ways to clean air ducts can do wonders for your indoor air quality. But sometimes, professional cleaning may be necessary. When specialized equipment or expertise is needed, investing in a professional service can save time, money, and stress.
It’s amazing how easily dust can take over a home.
You might find yourself wiping down surfaces more often, only to see the dust return almost as quickly as it was removed.
While most people focus on cleaning what they can see, there’s a hidden culprit that often goes unnoticed—the air ducts.
These vial pathways, tucked away behind walls and ceilings, quietly collect dust, dirt, and allergens over time. They then circulate them back into your living space every time the HVAC system runs.
Clean air ducts are more important than most people realize.
They play a role in maintaining indoor air quality, making sure that the air you breathe is free from pollutants.
Clean ducts also help your HVAC system run more efficiently. They help reduceenergy consumption and lower your utility bills.
Neglecting them can lead to a buildup of contaminants that not only diminish air quality but can also strain your HVAC system.
Thankfully, with just a few simple steps, anyone can clean their air ducts effectively.
Stick around, and soon you’ll be breathing easier with cleaner, fresher air flowing through your home.
First things first – can you clean air ducts yourself?
Is this a DIY job, or should professionals handle it?
The answer depends on the complexity of the task at hand.
For straightforward cleaning, such as removing dust and debris from accessible ducts, a homeowner can manage the job with the right tools and a bit of time.
Tasks like vacuuming the ducts, wiping down grates, and even removing basic blockages are well within the reach of most DIY enthusiasts.
However, there are situations where calling in a professional air duct cleaners is the smarter choice.
If there’s evidence of mold, pests, or significant blockages, these are scenarios where expert help is necessary.
Professionals have the equipment and training to handle these issues safely and effectively.
They help make sure that the problem is fully resolved without risking damage to the HVAC system or compromising your home’s air quality.
Safety is another important factor.
Cleaning air ducts involves working in tight spaces and dealing with potential irritants like dust and mold.
If there’s any uncertainty about the safety of the task, it’s better to err on the side of caution and call a professional.
Additionally, if the cleaning isn’t done correctly, it could lead to more expensive repairs down the line.
So you need toevaluate you situation honestly.
For simple tasks, DIY is often enough. But for anything more complex, professional help is worth the investment.
5 easy ways to clean your home’s air ducts
Step 1 – gather your tools
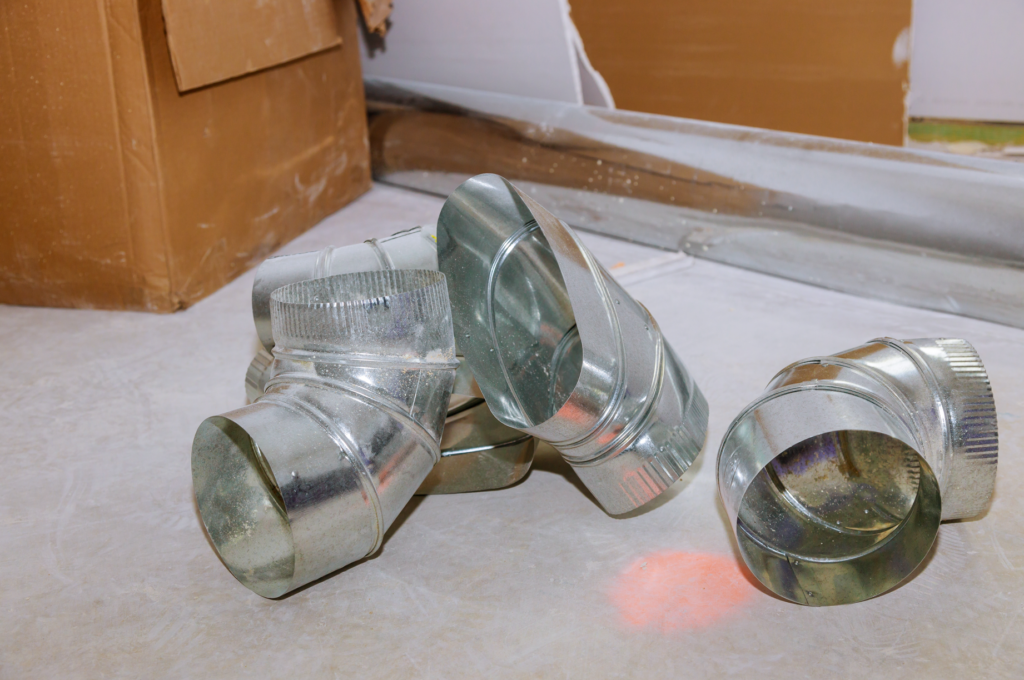
Having the right tools on hand will make the job smoother and more efficient.
Start with a vacuum that has a long hose attachment.
This tool lets you reach deep into the ducts and effectively remove dust and debris. The longer the hose, the easier it will be to clean those hard-to-reach areas.
Next, gather a set of brushes with long handles.
These are perfect for loosening stubborn dust that the vacuum can then remove.
A screwdriver is also necessary for removing vent covers. Make sure to choose one that fits the screws on your vents to avoid stripping them.
Finally, have some microfiber cloths ready. These are ideal for wiping down the grates and ensuring that every part of the duct system is clean.
If specialized tools aren’t available, there are household alternatives.
For example, a broom handle can substitute for a long-handled brush in a pinch. Anold toothbrush can be used to clean smaller, intricate parts of the vents.
It’s all about being resourceful and picking the tools that’ll really get the job done.
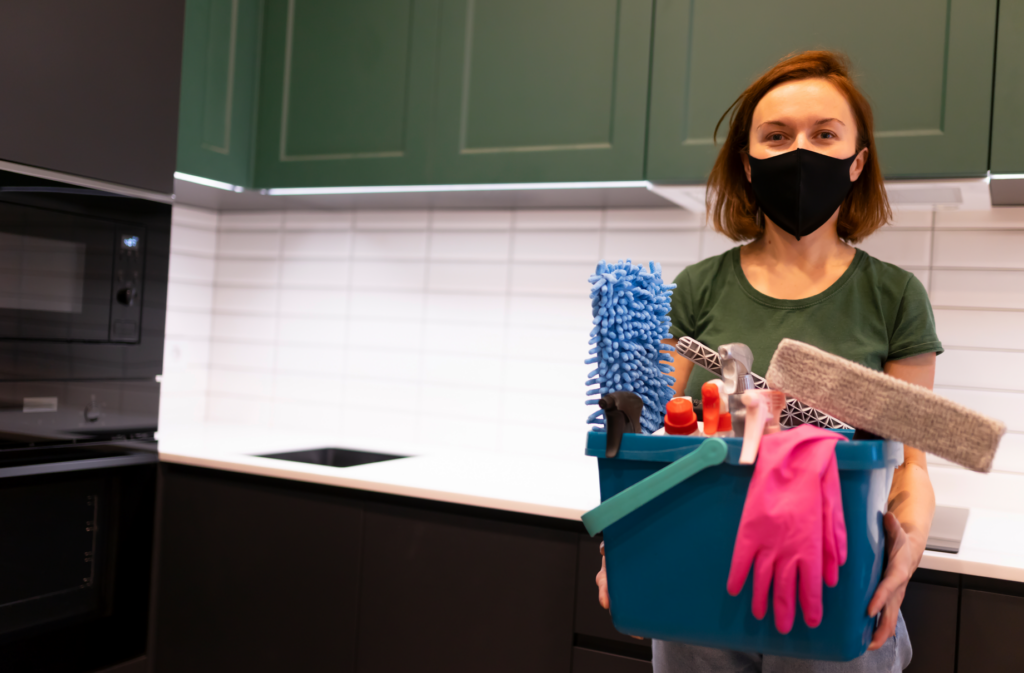
Step 2 – think of safety first
Taking a few minutes to prep your space properly can make a big difference.
Start by turning off your HVAC system.
This is important because you don’t want air blowing dust around while you’re cleaning. It also prevents the system from pulling in any debris that might get dislodged during the process.
Next, protect yourself by wearing the right gear.
A mask helps you avoid inhaling dust and any potential allergens that may be lurking in the ducts.
Gloves will protect your hands from sharp edges and from coming into direct contact with dirt and debris.
To keep your home clean, cover your furniture and floors under the vents with old sheets or drop cloths. This will make cleanup easier after you’re done cleaning the ducts.
With these precautions, the whole cleaning process will be much easier and less messy
Step 3 – go deep but stay gentle
Start by carefully removing the vent covers.
Use your screwdriver to carefully remove the vents, being careful not to damage them. Put the screws in a small container so you don’t lose them while you’re cleaning.
Once the vent covers are off, it’s time to vacuum inside the ducts.
Take the vacuum with the long hose attachment and carefully navigate it through the ducts.
You want to get rid of as much dust and dirt as we can without being too harsh. Be gentle, especially if the ducts are old or made of flexible material.
After vacuuming, some stubborn dust may remain. This is where the brushes with long handles come into play.
Use them to loosen any debris that the vacuum couldn’t reach. Brush gently but thoroughly, ensuring that all surfaces within reach are clean.
If there are any significant blockages or stubborn patches of dust, take your time to work them out.
Don’t forget about the vent grates themselves.
While the ducts are the main focus, the grates also collect dust and should be cleaned before being reattached.
Wipe them down with a microfiber cloth to remove any buildup. If they’re especially dirty, consider soaking them in warm, soapy water before wiping them dry.
Take your time with this process—there’s no rush.
Step 4 – put everything all back together
Start by reattaching the vent covers. Make sure to align them correctly and screw them back in securely. Avoid over-tightening, as this can strip the screws or damage the vents.
Once the covers are back in place, take a moment to inspect your work.
Turn the HVAC system back on and listen for any unusual sounds, which might indicate loose debris still inside the ducts.
If everything sounds normal, you’re good to go.
Finally, wipe down any nearby surfaces that may have collected dust during the cleaning process.
This quick cleanup makes sure that your home is as fresh and clean as your newly cleaned air ducts.
Step 5 – keep your air ducts clean for longer
Regular maintenance will help make sure that your hard work lasts longer and that your home’s air quality remains high.
Start by keeping your home clean with regular dusting and vacuuming. The less dust and dirt in your home, the less will end up in your ducts.
Don’t forget to change your HVAC filters regularly.
It depends on the filter and how dusty your home is, but you might need to do it every one to three months.
Clean filters help your air quality and make your HVAC system work more efficiently.
It’s also a good idea to schedule professional air duct inspections once a year.
A professional can spot potential issues early, like blockages or signs of mold, that might not be obvious during routine cleaning.
Lastly, consider sealing your ducts if they aren’t already.
Duct sealing can prevent dust from entering the ducts in the first place, keeping them cleaner for longer and improving the overall efficiency of your HVAC system.
A little air duct upkeep goes a long way in keeping your air fresh and clean. With these simple steps, you can enjoy the benefits of clean air ducts for years to come.
When to call in the professionals
When is it time to let the pros handle it?
While many air duct cleaning tasks can be tackled with a little DIY, certain situations call for professional intervention.
Persistent issues like severe mold growth, pest infestations, or significant blockages are clear signs that regular cleaning won’t be enough.
These problems require more than just a vacuum and a brush; they need specialized treatment that only professionals can provide.
In some cases, professional-grade equipment is needed to thoroughly clean and sanitize the ducts.
High-powered vacuums, rotary brushes, and advanced cameras allow professionals to inspect and clean areas that are out of reach for standard household tools.
This equipment makes sure that every part of the duct system is addressed, leaving no room for lingering contaminants.
Finally, there’s the peace of mind that comes with knowing the job is done correctly and safely.
Professional duct cleaners have the expertise to handle complex issues. They can identify potential problems before they escalate. Sometimes, the best way to clean air ducts is by knowing when to ask for help.
When in doubt, bringing in a professional can save time, stress, and potentially even money in the long run.
Breathe easy and enjoy the benefits of clean air ducts
Cleaning your HVAC system might seem like a big task. However, as you’ve seen, it’s manageable especially when you know the best ways to clean air ducts.
By following these five simple steps, you can keep your home’s air ducts in top shape.
Imagine how much fresher and cleaner your home feels now that dust, allergens, and debris have been removed.
With your air ducts clean, you’re not just breathing easier—you’re living better.